Edit Now
Double exposure effect is a photography technique where two images are blended together on screen to form a new single image. In layman terms, it is an effect where two images are placed one over the other in a way that both are visible but somehow they have a meaning or an emotion or an aesthetic to present. While this effect is achievable through camera settings, for all the budding artists and editors, LightX App has got your back! This easy double exposure effect tutorial with LightX Blend Tool will take you through every step of blending images together for the perfect outcome.
There are various styles to try out from while using the double exposure effect online. First and foremost you need to have a theme. Is there something specific you want to convey? Or you want to leave it to the imagination? Are there some aesthetics you want to play with? Whatever your purpose is, you need to select a base photo and a layer photo, both of which have to be efficiently lit up and have fine details.
Double Exposure Effect Portraits
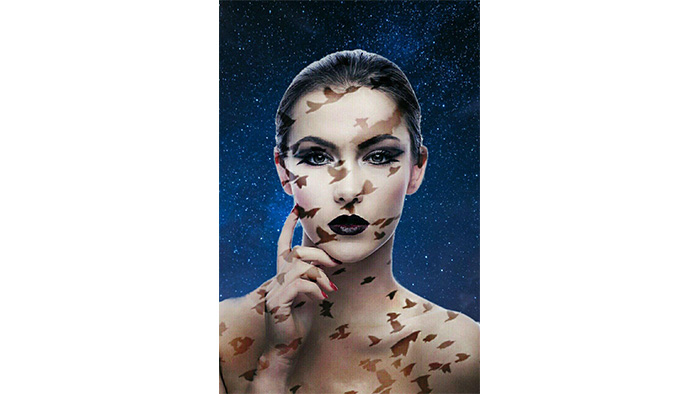
One of the most popular styles is to use a person as the base image and a landscape photo for the layer image. The second image fills up the silhouette of the first one. This ups your self portraits and selfies like no other effect. The textures have to be interesting and there needs to be a connection between the two for a perfect double exposure portrait. Also, for the starting choose the base image which has a plain background, so it is easier to work with the details.
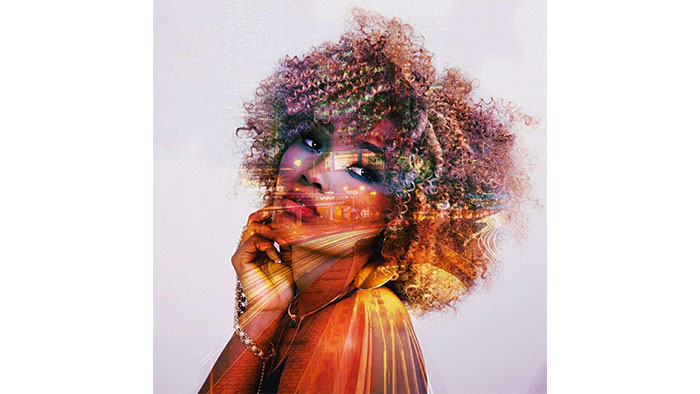
The double exposure portraits can be made for aesthetic purposes too. With LightX App’s Blend Tool, you can make double exposure portraits which are so aesthetically pleasing! If you are searching for double exposure effect online for Android or iOS, then your search ends here at LightX App. With thousands of free stock photos, you can try your hand at any style you want.
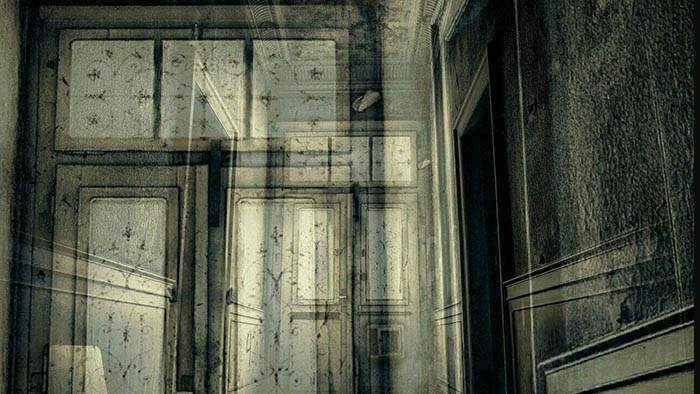
Double Exposure for spooky images
This effect can also evoke a sense of horror if you want. For this, choose images in grey scale or sepia. And take inspiration from below as to how you can come up with interesting themes.
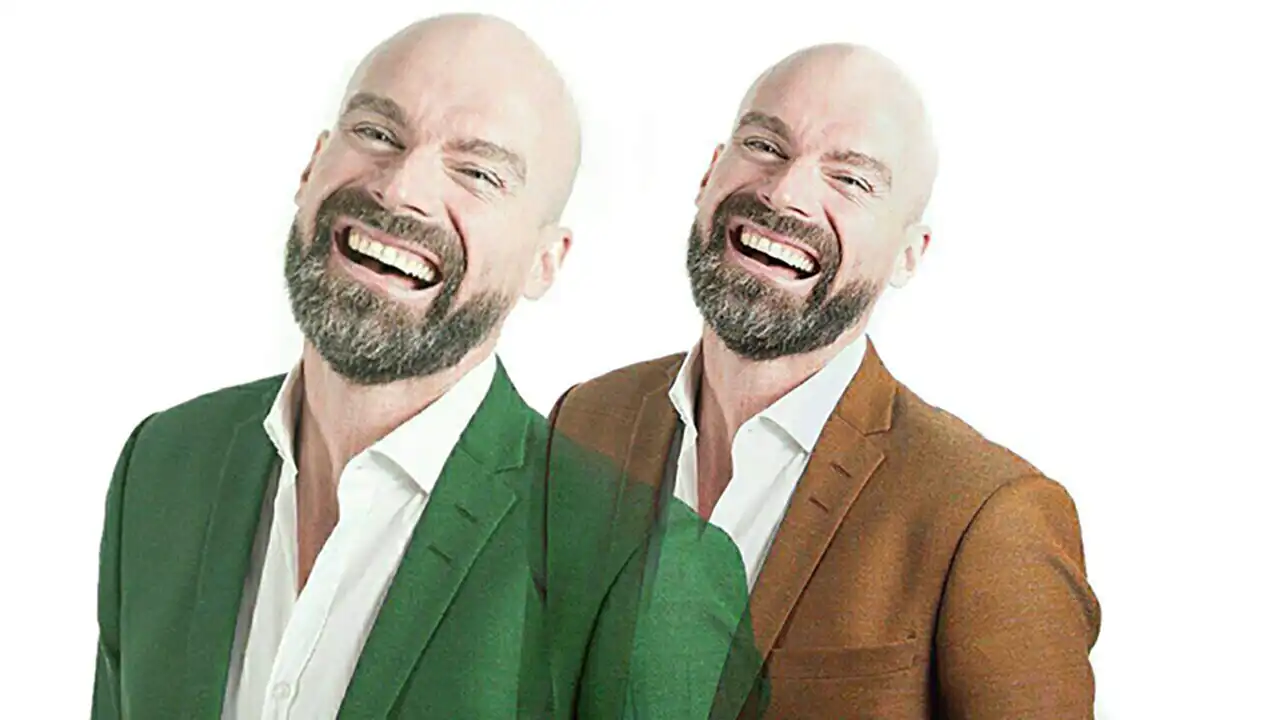
Double Exposure Effect with Colors
Another way to play around with double exposure effect or double exposure portraits is experiment with colors. For this you might need the same photo for the base and the layer but the subject has to be in different hues. You can learn how to set the Hue of a picture from here. When you have two such images with different hues, blend them together! Decide the placing and positioning of the layer image and you are good to go! Here is an example:
Phew! Now what to do with all these ideas? Here is a step by step double exposure effect tutorial in LightX App:
- Open the base image in LightX App.
- Choose ‘Blend’ from the Mixing Category.
- Select the layer photo or choose from the thousands of stock photos.
- From the ‘Add’ option, you can keep on adding layer photos if you want.
- With ‘Tools’, you can erase the parts of the layer photo that you don’t require. With ‘Brush’ you can bring back the erased parts.
- The ‘Blend’ option is something very important in a double exposure effect tutorial. From here, you select how the layer image will blend in with the base image. It is different for different themes. Select the one which suits the best and select the opacity too.
- Move the layer photo anywhere over the base photo with the anchor given.
- When you are satisfied with the result, save the picture in your device in the required format and dimensions.
Double exposure effect for Android and iOS becomes super easy and fun with the LightX App. Go on and explore the inner artist in you! Learn more: How to achieve aesthetic photos for your social media.
Edit Now

