Edit Now
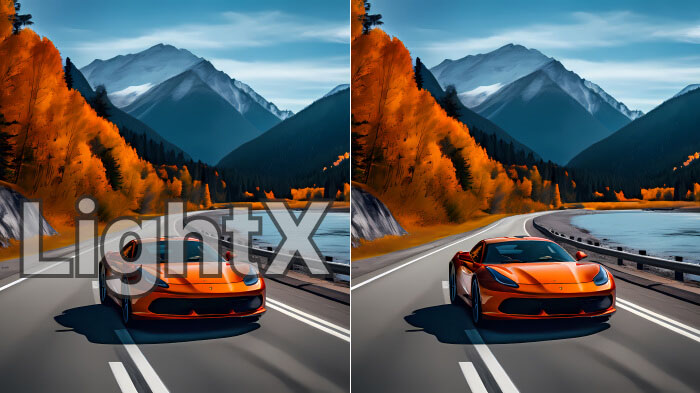
You might have seen masks of different shapes, like circles, squares, clouds, hearts, etc. but have you wanted to have a text mask? Like, fill a text with a picture? Sounds interesting, right? This awesome and fun design can be created using LightX in a few minutes. When you read ahead you will learn how to fill text with an image?
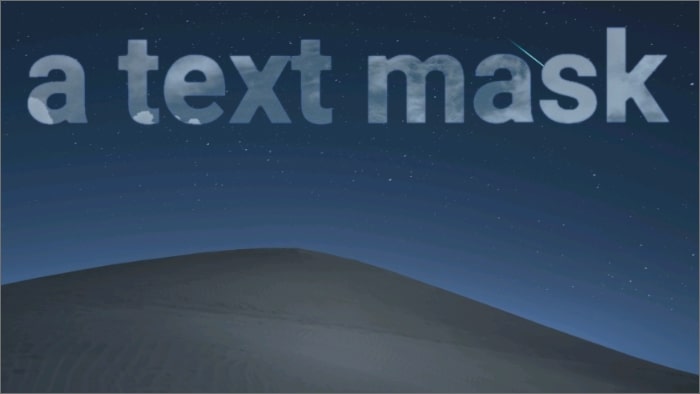
You don’t need to learn heavy photo editing or have desktop software to make a text mask. We’ll tell you today how to put image in text without Photoshop even!
Let’s start!
How to fill text with an image?
With LightX mobile photo editor you can easily fill text with an image, without the use of Photoshop or any other heavy software. Follow these steps to make your own!
- Open LightX mobile photo editor in your phone
- Choose a background image on which you want to put a text mask. It should be related to the text you are going to use for the text mask
- Choose the ‘Text’ option from the ‘Social’ category
- Type the text you want as a mask
- Keep the text bold enough, and in one solid color for the next step
- Next, choose the ‘Backdrop’ option from the ‘Social’ category
- You can either choose from the Store or upload a picture of your choice from the gallery
- Using the ‘Magic Brush’ tool, paint inside the text with your finger. The ‘Magic Brush’ is an AI-driven tool that helps to apply the effect in the same pixels, leaving out the other area.
- Fill the whole text area like this
When you are satisfied with the result, save and share it on social media. Now that you know how to fill text with an image, you can make multiple designs like these on LightX mobile photo editor.
If you’re looking to create visually engaging designs, text masks can be a great way to add flair to your projects. To go even further, consider using an infographic maker to combine text masks with other design elements for a professional and eye-catching result.

Pro Tip: if you are looking for another way for how to put image in text without Photoshop, you can also write the text first on a plain, solid background. Then use the ‘Cut Out’ or ‘Eraser’ tools to save that text mask as a sticker! 😉

